25 Practical DIY Jewelry Box Ideas in 2025
If you’re a jewelry hoarder, collector, or just a lover of earrings, a good place to organize and keep those sparkly things is important. But it seems like companies never make practical jewelry boxes that are both attractive and functional.
So, instead of relying on someone else to create just what you need, you can use one – or several – of these tutorials to make just the perfect jewelry holder for your collection of jewelry.
1Pretty Trinket Ring Box
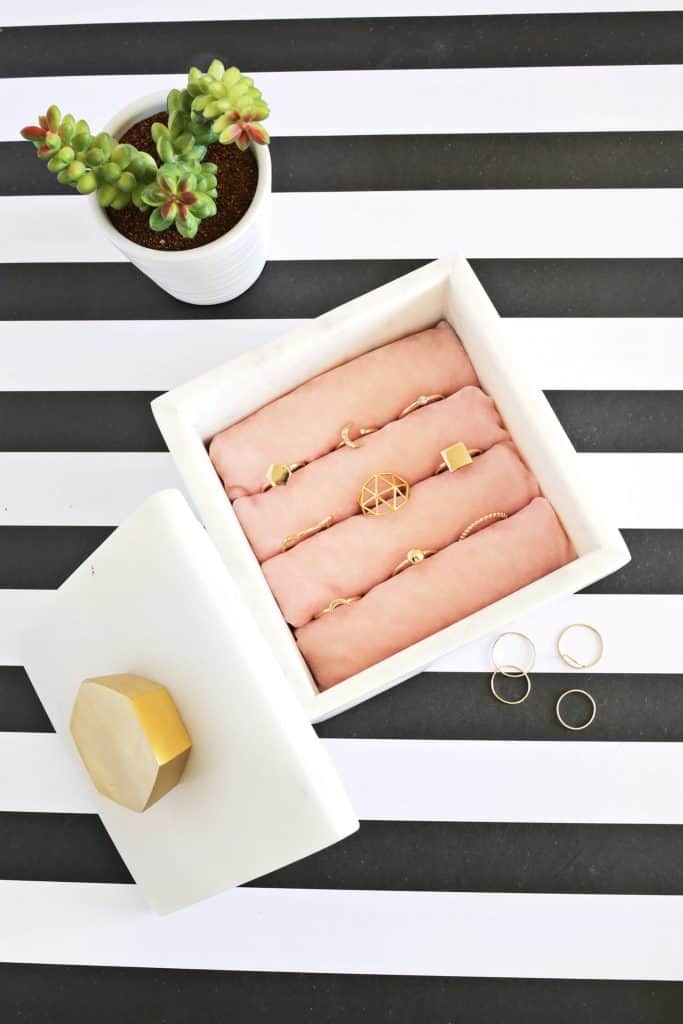
This is the perfect DIY tutorial for the ring lover. You’ll just have to find one or two small, pretty trinket boxes at the dollar store, and follow the instructions for creating a ring holder insert to keep your jewelry organized and easy to view.
You’ll need a decorative box with a lid, some velvet fabric, straight pins, a sewing machine, hot glue gun, cotton batting, and a few basic sewing tools to make it in no time.
Via A Beautiful Mess
2Fruity Wood Bracelet Upcycle Trinket Box
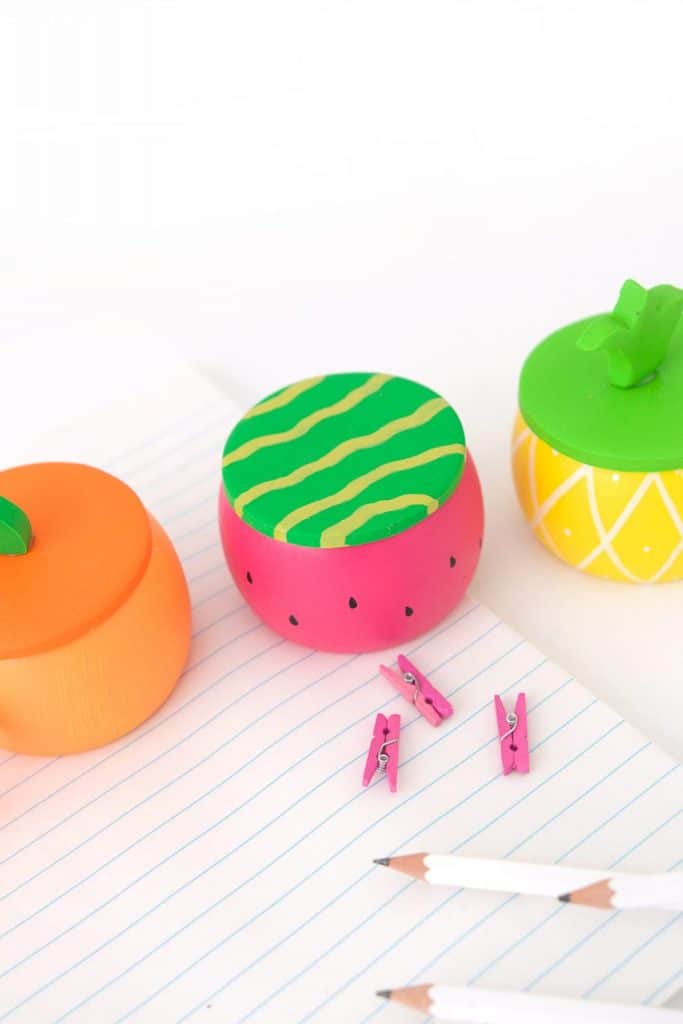
If you want some fun, spunky, colorful jewelry holders, you should check out this tutorial for the fruity wood bracelet upcycle project. It uses old wooden bracelets, a hot glue gun, some Sculpey – polymer clay – and some craft paint to create these adorable boxes.
So, not only can you keep your earrings, rings, and other small jewelry organized better, but you can upcycle old jewelry you don’t wear anymore. And have fun doing it.
Via Damask Love
3Silverware Box Upcycled Jewelry Box
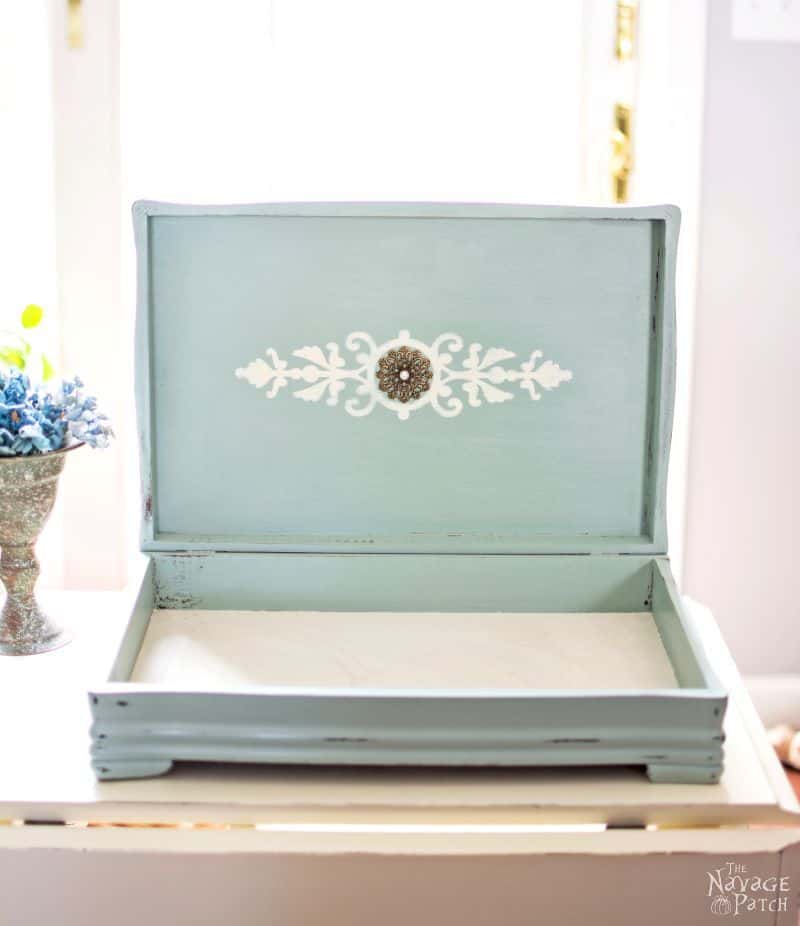
Another fantastic upcycle project is turning an old silverware box into a jewelry box. It’s perfect for giving you sections to keep different types of jewelry pieces in and it’s attractive. Not to mention, you can use something formerly practical in a new kind of way.
You just need some paint, adhesive, and décor items to create this beautiful “new” box from something old. You can find a nice stencil or, if you’re skilled with a brush, create your own design to add an elegant touch.
Via The Navage Patch
4Mini Paper Mache Trinket Boxes
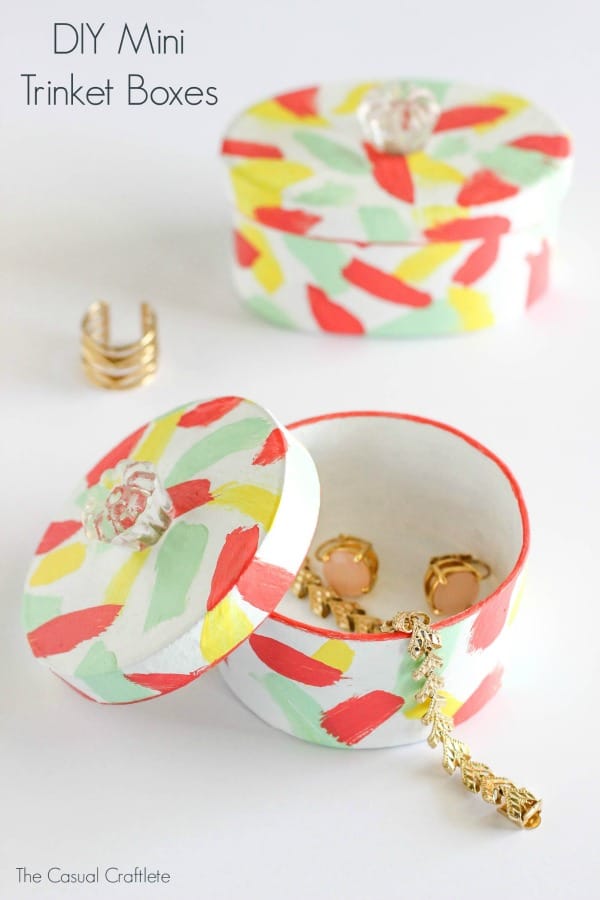
Ever see these Paper Mache boxes at Michaels and wonder what you could possibly do with them? Then this tutorial is for you. You’ll see the step-by-step process of turning those brown paper boxes into gorgeous little trinket boxes perfect for storing your jewelry.
It’s a super easy DIY project, so they make for a great party activity, “stuck-indoors” activity for the kids, or just a quick, fun project when you need a pretty place to keep your jewelry.
Via Purely Kate
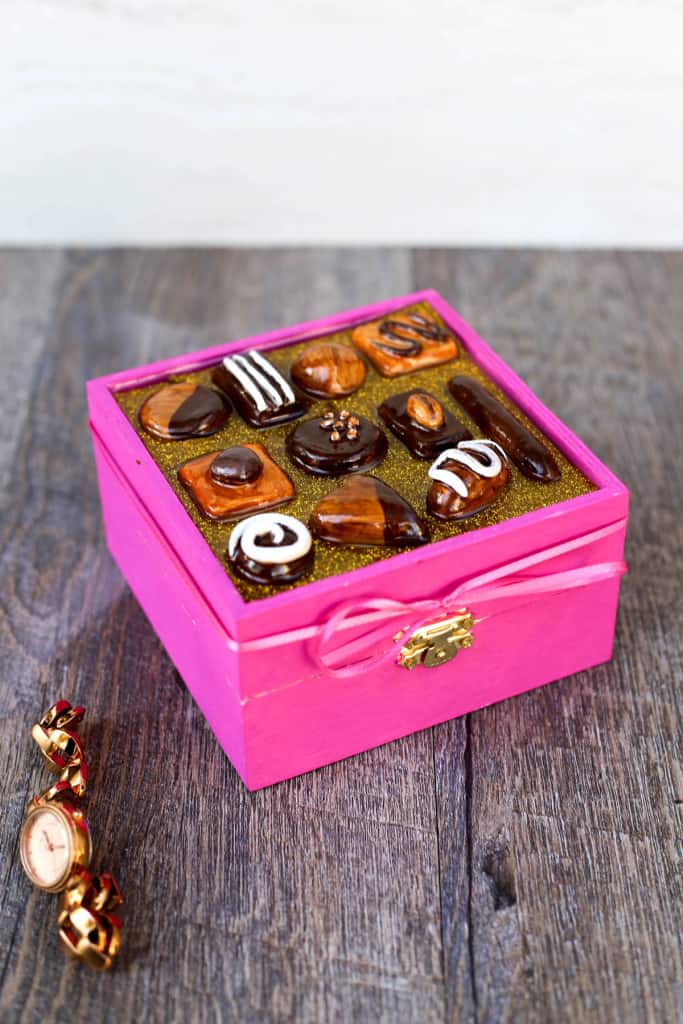
5Box of Chocolates Jewelry Box
Need a fun little gift for a jewelry and chocolate lover? Then you’ll want to follow this tutorial for making the adorable little Box of Chocolates jewelry box. It’s a perfect Christmas, Valentine’s, birthday, or anniversary gift – as long you also supply some chocolate to eat with it!
You’ll need a wooden box, some paint, modeling clay, and some clear epoxy. Then, in a little while, you’ll have this unique little trinket box the recipient won’t soon forget.
Via Well Made Heart
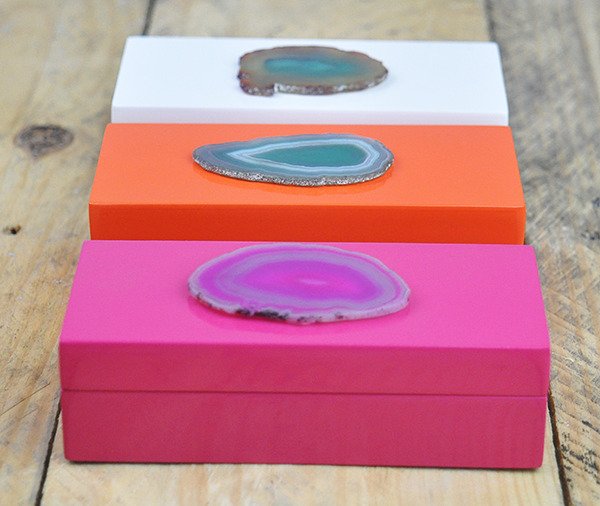
6Mini Agate Slice Jewelry Box
Stone lovers will love this gorgeous little jewelry box. It’s a simple lacquer or lucite box with agate stones adhered to the top. They’re absolutely beautiful. And when you make them yourself, they won’t cost you a small fortune.
So, grab your glue gun, a mini lacquer box, and some flat agate stones to make this simple but beautiful DIY project, according to these easy plans. If you’re not sure where to find agate stones, try looking at Etsy, or Wish.
Via Krafty Kath
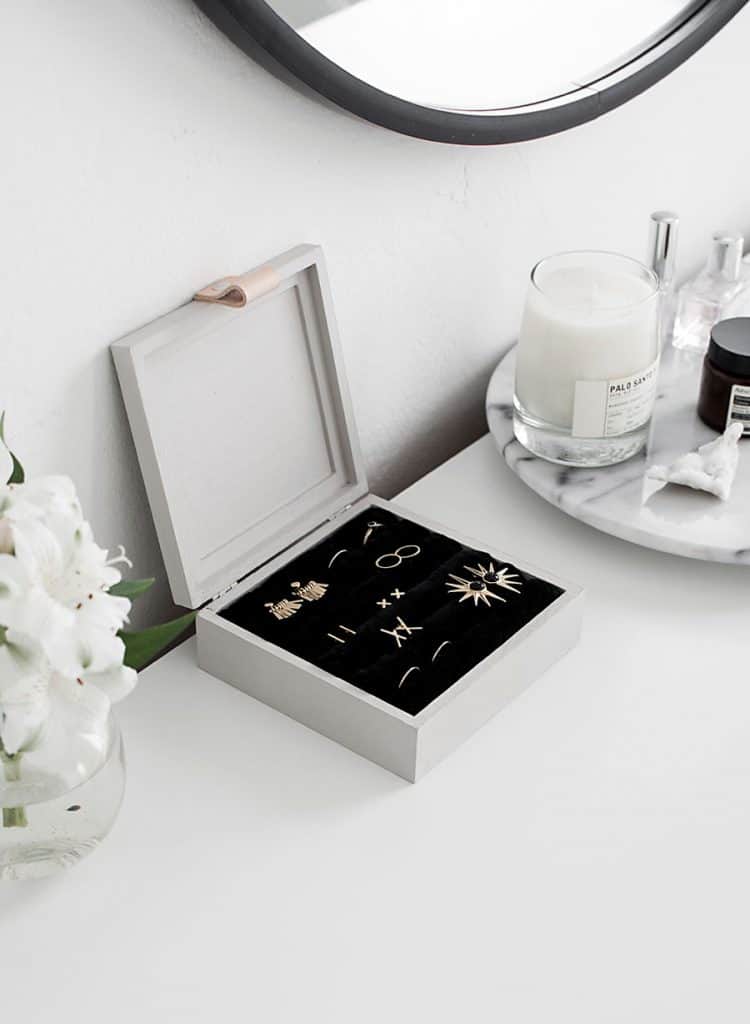
7DIY Jewelry Holder Box
If you can’t find the right jewelry box for just your needs, you’ll love this simple tutorial. You need some simple supplies – a wood box, wood filler, paint, batting, velvet, natural tooling leather – and some tools, and soon you’ll have exactly what you need to store your favorite earrings and rings.
And if you’re not already into leatherwork, this is a great way to ease in with some very simple tools and skills.
Via HomeyOhMy
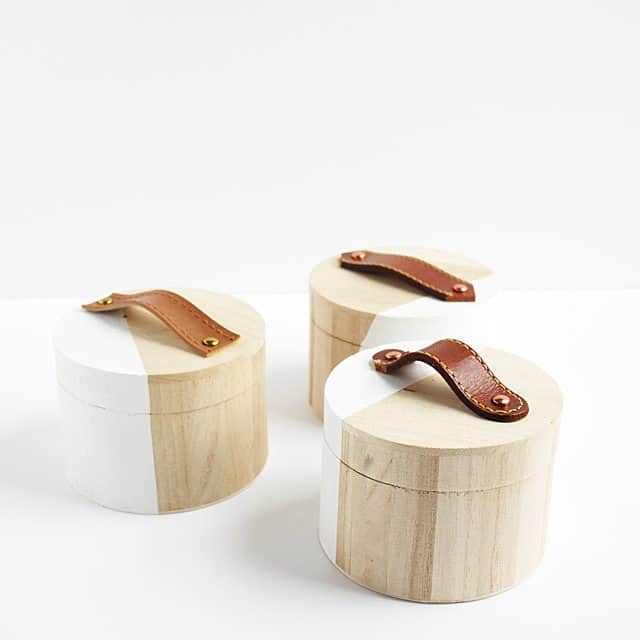
8Leather Handled Wooden Boxes
If you love leather and wood, you’ll love this upcycling project for saving old belts and wristwatch straps, etc. You’ll need some basic leather tools – a leather punch, specifically – and some unfinished wooden boxes.
You can then craft exactly the box they show, or you can paint the box or decorate in some other way, depending on what you feel like doing. But whatever way you choose to do it, you’ll be saving some leather and making a gorgeously unique piece no one else has.
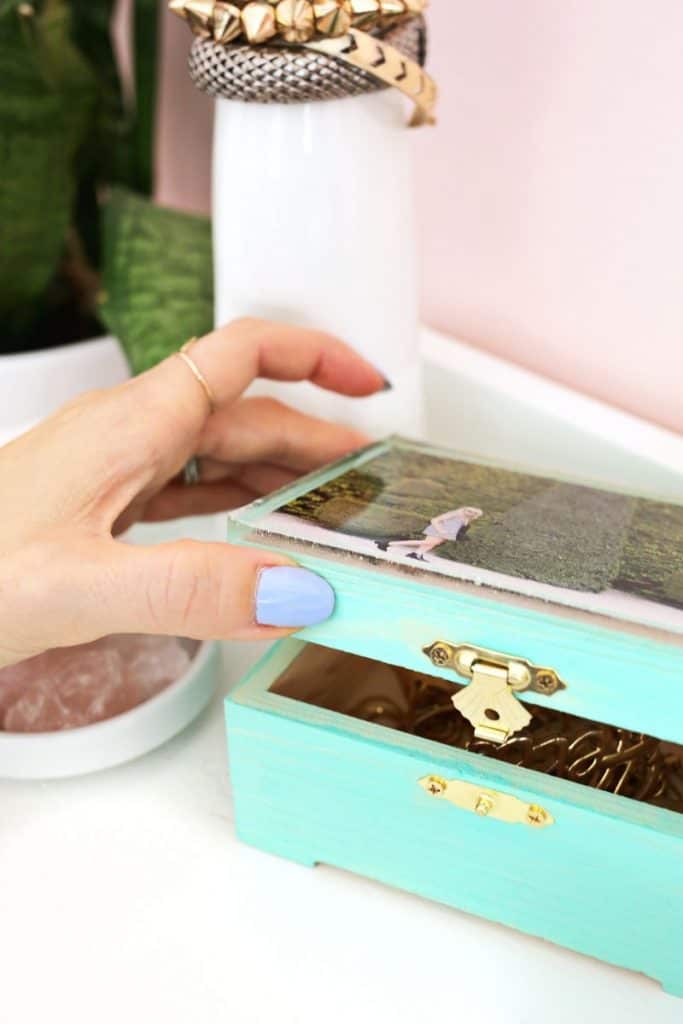
9Epoxy Memory Jewelry Box
This project is a beautiful way to not only save your jewelry from getting lost but for saving your memories in a unique, attractive way. You’ll only need a few basic supplies, and about an hour of time to craft this piece of memorabilia for yourself or a loved one.
Grab a small wooden box with a lid on a hinge. Then, choose your stain or paint, find some painter’s tape, find a low-odor epoxy kit, some Mod Podge, and a printed photo of your favorite adventure or moment to memorialize.
Via A Beautiful Mess
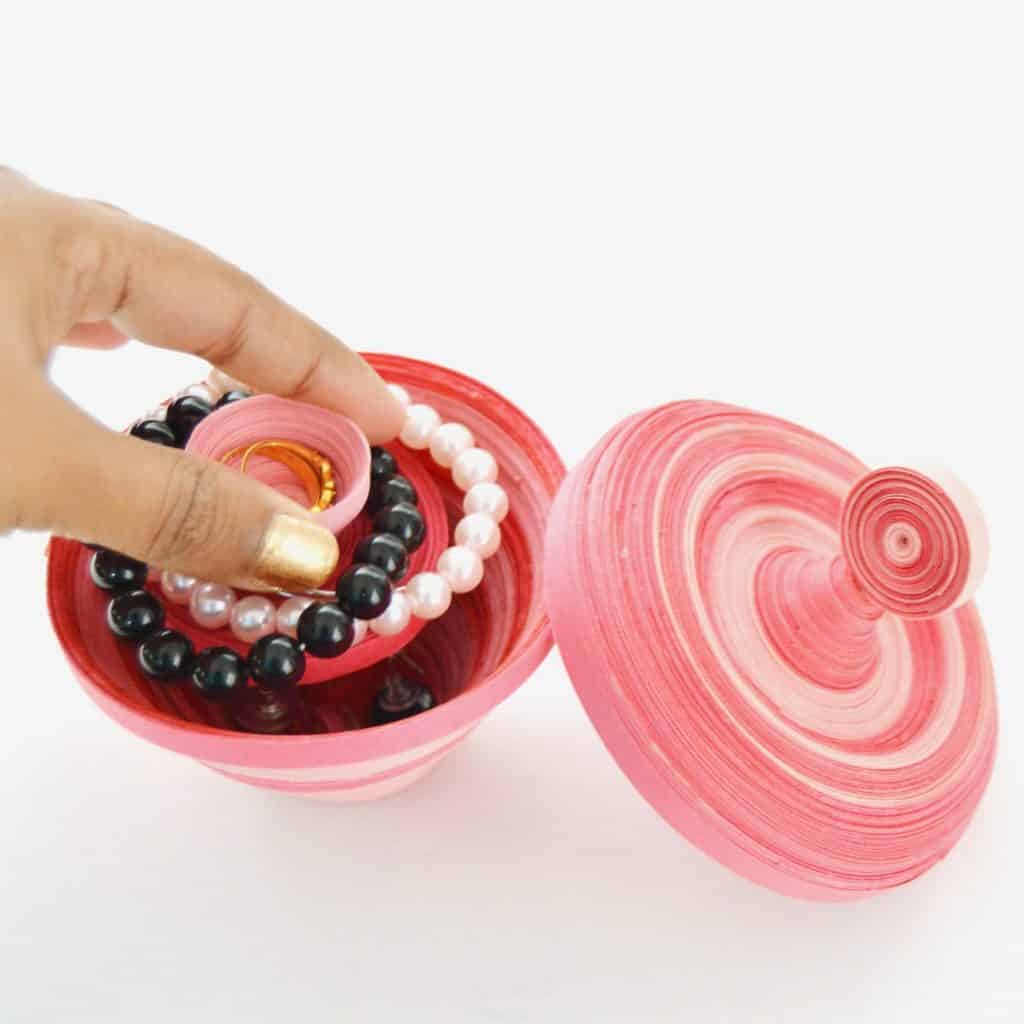
10Double-Decker Quilled Jewelry Box
If you’re wanting to get into quilling, or at least try out the skill, this is the perfect project to get you going. It’s a super easy project that results in a beautiful, two-layer jewelry box to store your favorite pieces in.
You’ll just need a slotted tool, some quilling paper – whatever colors you love most – and some glue. That’s it. Just follow the simple instructions to create this piece that no one will believe was made by a beginner.
Via Vikal Pah
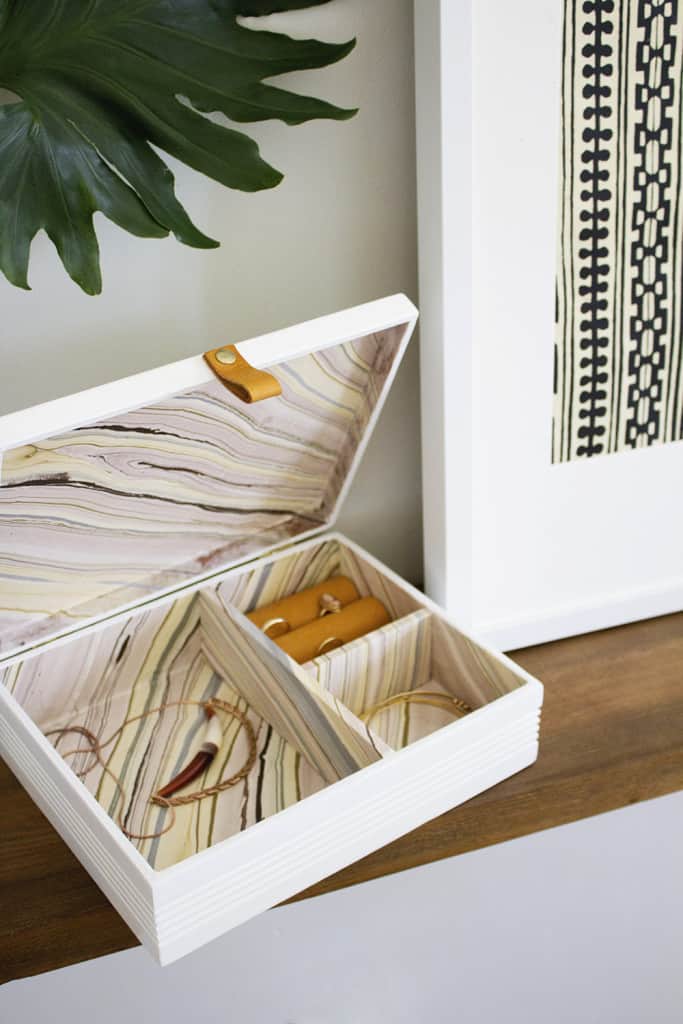
11Upcycled Cigar Box Jewelry Box
This project is a beautiful use of a classic upcycling item. You’ll need that old cigar box from the attic, some spackle or wood putty, high gloss paint, foam cylinders, a little leather, and some other basic tools and supplies.
The end result of this DIY project is a beautiful, marbled cigar box turned into a jewelry box, complete with compartments and spaces for your favorite bits and baubles, to keep them organized.
Via Annabode
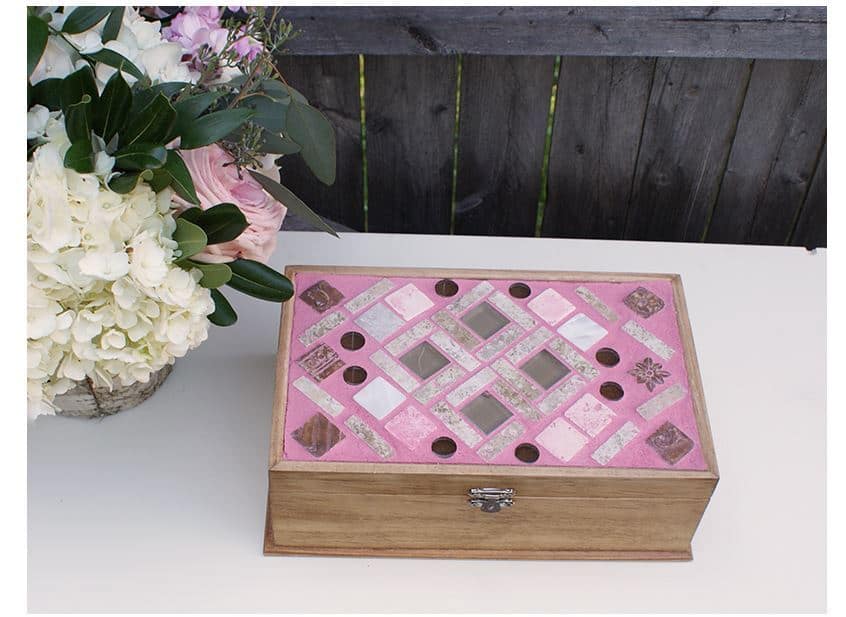
12DIY Mosaic Jewelry Box
Mosaic lovers shall rejoice over this super easy to follow tutorial for creating a stunning, mosaic jewelry box from old tiles – or stones, or flat marbles, or anything else you love – a plain jewelry box, and some other simple supplies you can find at the hardware and craft stores.
Just follow the instructions, which come complete with step-by-step photos for you visual learners, and in the matter of a day for drying time, you’ll have a beautiful mosaic jewelry box to keep or give as a gift.
Via Bohemian Mint
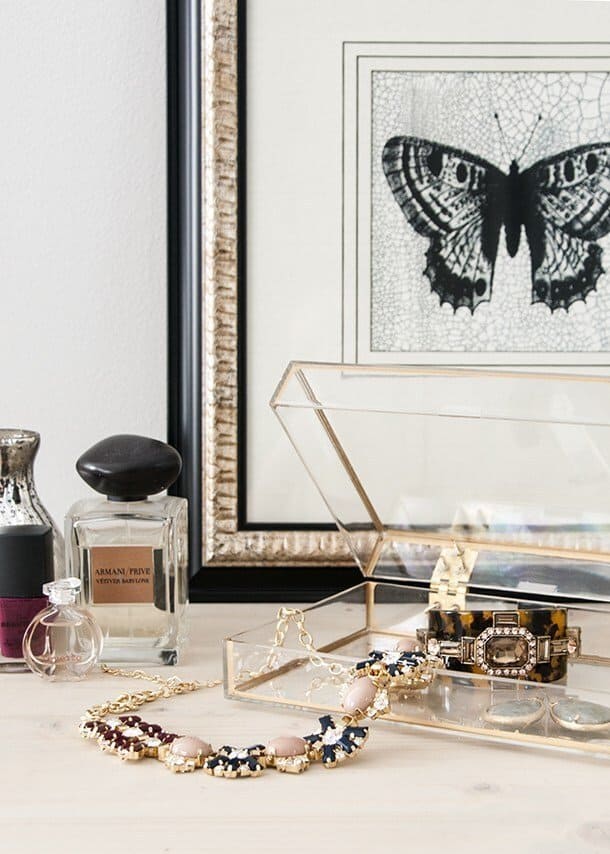
13DIY Gold Rimmed Acrylic Jewelry Boxes
When you look at these beautiful jewelry boxes, you’ll probably think they’re super complicated and too difficult to make. But the reality is, they’re super easy to put together and make look just as good as the tutorial.
You’ll need some acrylic box frames – think TJ Maxx and Michael’s – some decorative brass hinges, a gold paint pen, and a drill. In practically no time, you’ll have this elegant, expensive-looking box ready to use for displaying and protecting your favorite jewelry.
Via Earnest Home Co.
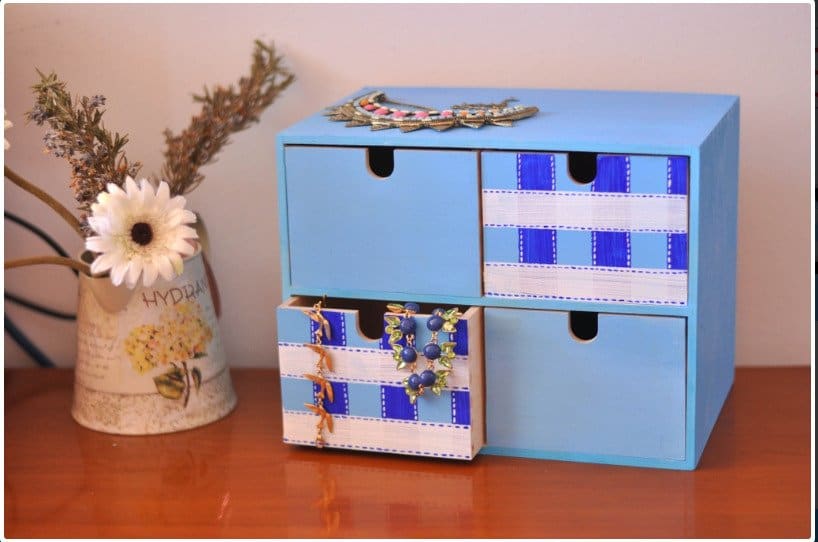
14Upgraded Chest of Drawers Jewelry Keeper
This is a super easy DIY tutorial for giving some old drawers a facelift into a jewelry box you’ll love having at home. First, you’ll need a little chest of drawers made of non-treated wood – Ikea has some great options – then you’ll need some acrylic paint, varnish, masking tape, and some newspaper.
The incredibly easy tutorial makes it look easy – because it is. Just follow the instructions, give everything enough time to dry, and voila, boring to beautiful in just a couple of hours.
Via Beqbe
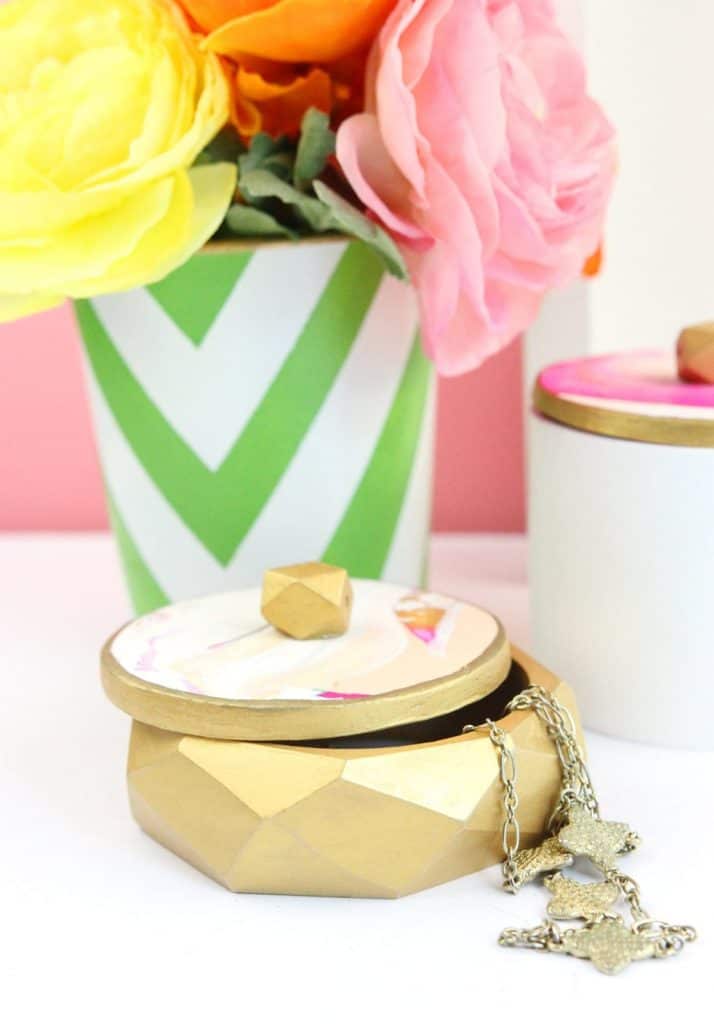
15Clay And Wood Bracelet Jewelry Box
Another great upcycle for an old wooden bangle is this beautiful clay and wood jewelry box. It’s similar, in some ways, to the previously mentioned bangle upgrade, but there are some unique tweaks that you’ll love.
For this one, you’ll need some Sculpey in your favorite colors, that wooden bangle, a gold metallic Sharpie, an acrylic roller for the clay, a hot glue gun, a cookie-cutter, and a small wooden bead of any shape.
Via Damask Love
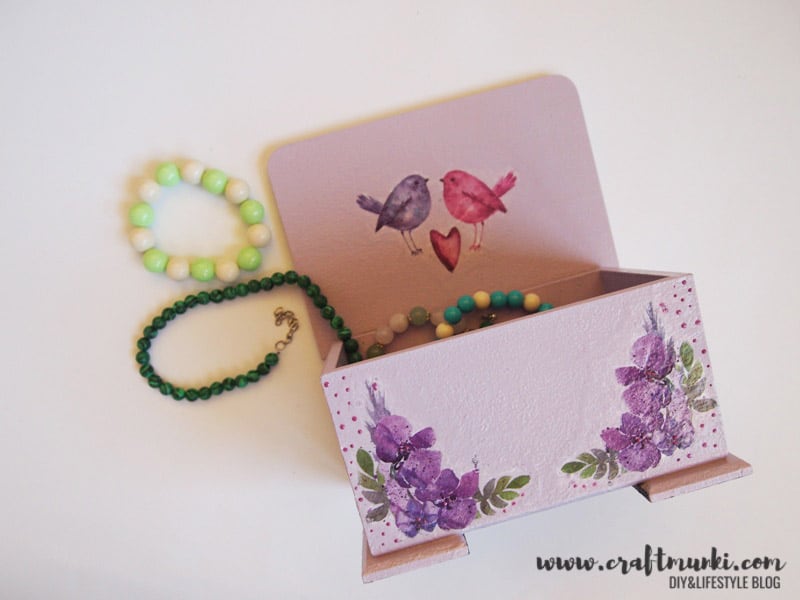
16Romantic Decoupage Box
Decoupage is one of those crafting projects that’s remarkably beautiful but so easy if you have even the slightest hint of craftiness to you. So, if you enjoy a romantic, vintage feeling box, this project is something to try, even if you haven’t done much decoupage before.
You’ll need to find an MDF or wooden box that you love and either some decoupage paper or a napkin with some Mod Podge and primer paste. Then, you just have to follow these simple instructions.
Via Craft Munki
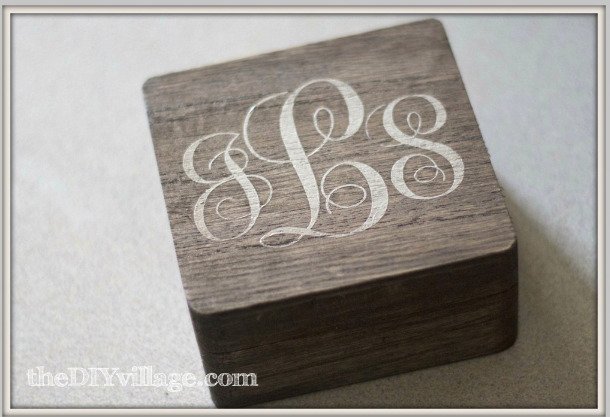
17Monogrammed Jewelry Box
Need a last-minute gift for a girlfriend? Then whip out that dollar bill at the dollar store and make this beautiful, simple monogrammed jewelry box in no time at all. You just need some small pinewood trinket boxes – blank – to create them.
And then, following this very simple stenciling instructional, you can create either a simple wood grain box or a painted box with your loved one’s initials in elegance and style. They’ll never know it was a dollar store find.
Via The DIY Village
18Chocolate Box to Jewelry Box DIY
For the super thrifty chocolate lover, this one is a fantastic way to excuse your indulgences and maybe call for more chocolate. You see, you’ll actually be turning a chocolate box – whatever shape you have on hand – into a jewelry organizer, complete with organizing trays and slots.
You just need that chocolate box – poor you. You’ve got to eat them! – some pretty wrapping paper, some white paper, glue, cardboard paper, and some acrylic paint.
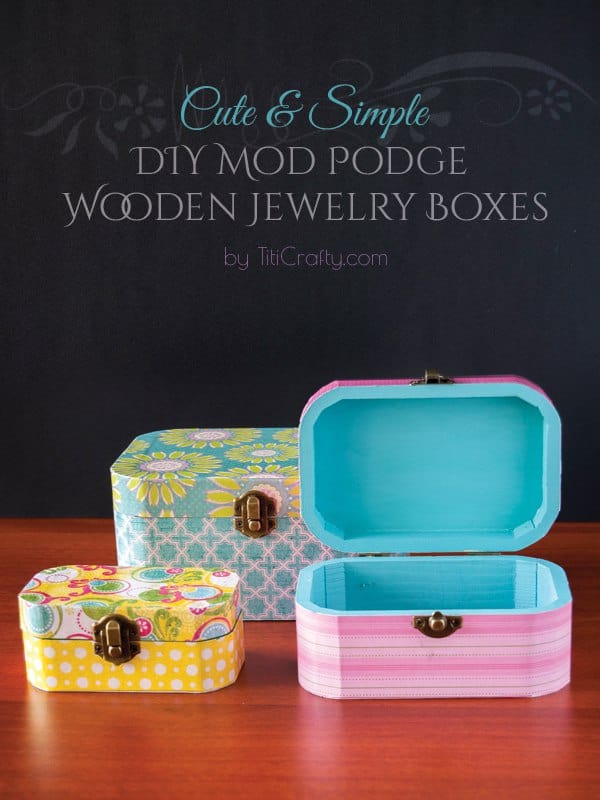
19Simple Mod Podge Wooden Jewelry Box
These super cute, super easy wooden jewelry boxes are another dollar store bargain turned into something beautiful and expensive looking. The instructions are very easy to follow, even for the less than skilled crafter. That means it’s a great project for beginners and kids.
You’ll need some blank wooden boxes with latches, some pretty scrapbooking paper, matching fabric and paint, and Mod Podge. That’s all you’ll need. Just follow the instructions.
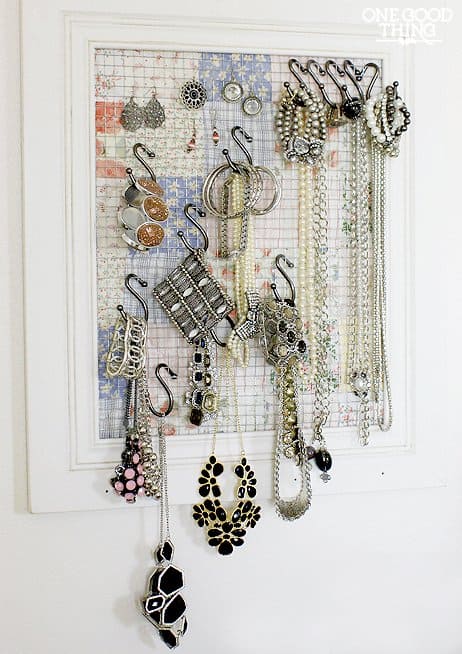
20Thread Rack Jewelry Organizer
Now, for the less crafty or the lazy – we won’t tell – you’ve got this brilliant idea for a DIY jewelry organizer. You’ll take a thread organizer from someplace like Walmart or Michael’s and hang it. Then, instead of adding sewing supplies, you’ll tweak the use.
This is a great option for use inside a closet or bathroom, but you can hang it over a dresser, by a mirror, or anywhere else that makes sense for you. And it works great for bracelets, rings, or necklaces.
21DIY Bracelet Storage
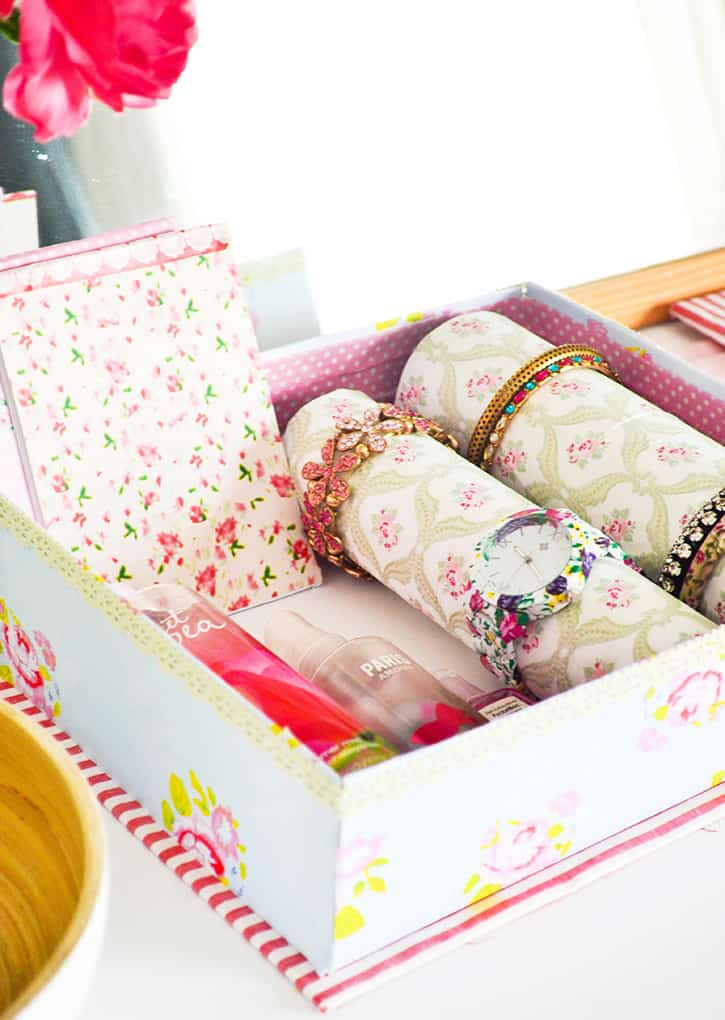
This is a particularly great and creative DIY jewelry storage, specially designed for keeping your bracelets, watches, bangles, and similar arm candy in place while looking gorgeous. It’s a super flexible design, too, which makes it all the more awesome.
The bracelet rolls in the box are secured into place via Velcro, meaning they can be removed, moved, shifted, and adjusted to suit your every wristwear whim. And because of that versatility, you can even create a second box to hold your brushes.
22Antique Book Jewelry Box
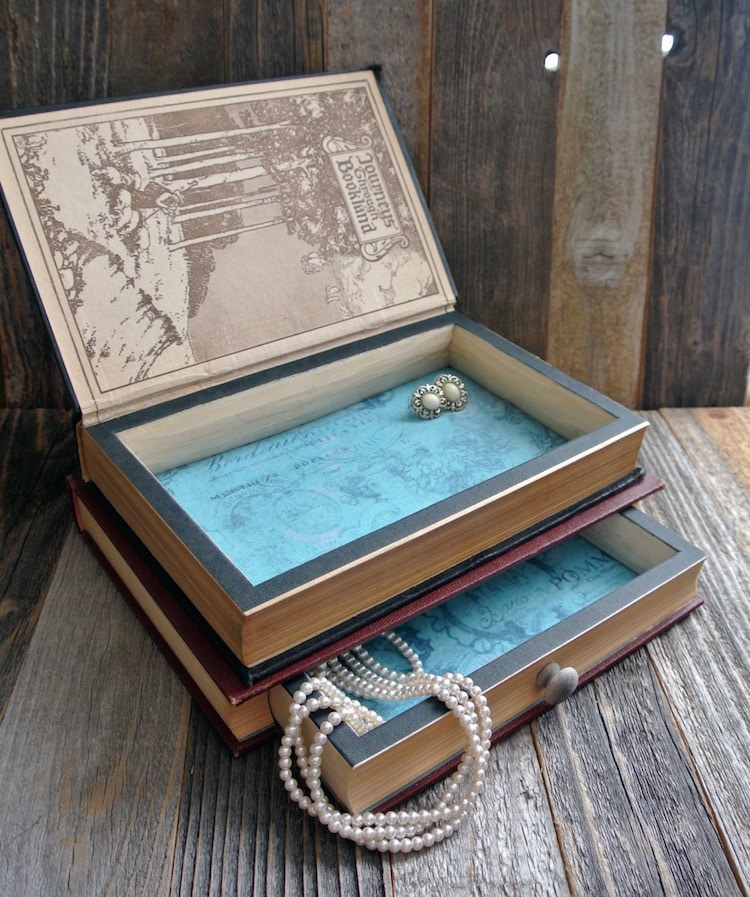
This is the perfect DIY jewelry box for the bibliophile in the family if you can bear to use some old books that aren’t in the best of shape anymore. You’ll want to pop into your local used bookstore, thrift store, or Half Price Books to find some beautiful old books to repurpose.
Then, follow the instructions for hollowing them out and converting them into a unique, attractive, and all-together interesting new jewelry box.
Via Kenarry
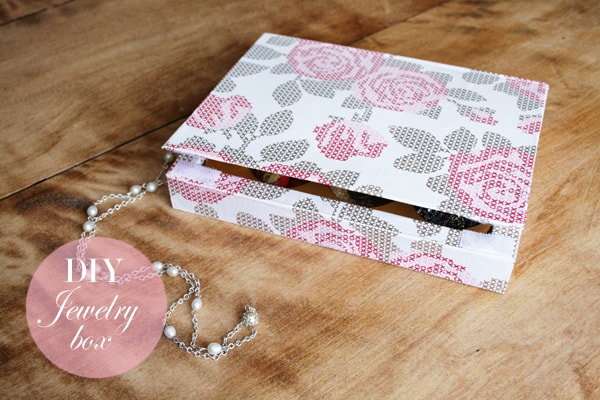
23Vintage Rose Box
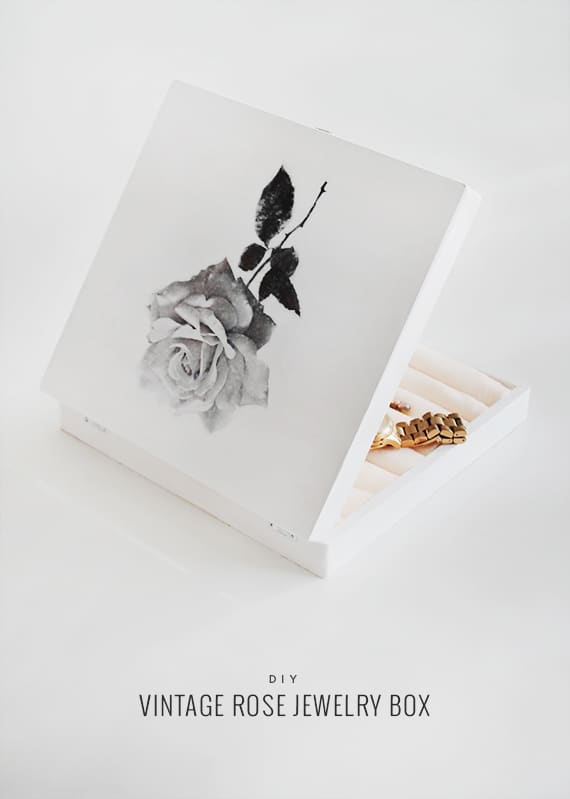
If you’re not the most artistically inclined, the look of this beautiful box might intimidate you. But in reality, it’s a super simple, easy to make design that doesn’t require an art degree or even a lick of drawing skill. It looks like it’s etched on with a brush, but it’s a printout.
Grab a gel medium, a paintbrush, a wood box, brayer tool, white craft paint, some felt, and a few other basic crafting supplies. Your skills – or lack thereof – will produce a simple but beautifully elegant little box that you’ll love to show off.
24Simple DIY Wooden Jewelry Box
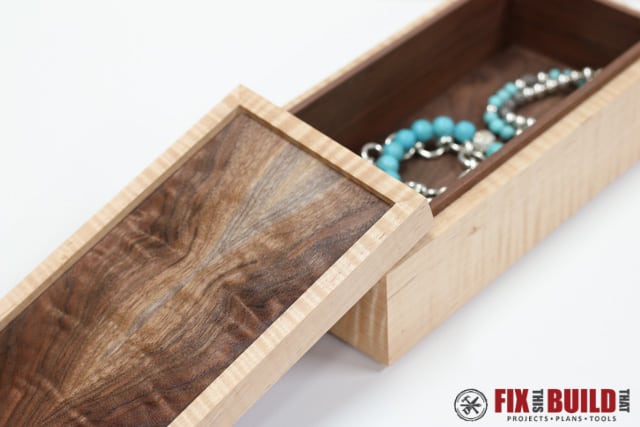
For those wanting to make your jewelry box from scratch, you’ll find this tutorial helpful. You’ll need a few specific tools, but it’s a pretty easy tutorial for anyone with even a bit of woodworking experience in the past.
The tutorial recommends maple and walnut wood for the design, but you can use any wood that you like instead. You will need a drum sander, table saw, and miter saw, as well as an orbital sander.
Tools Used
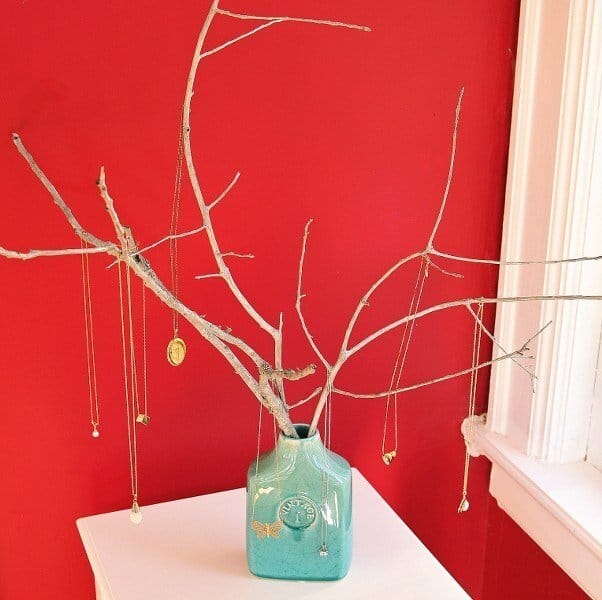
25DIY Jewelry Tree
If you want a gorgeous display for your jewelry that’s so easy you almost can’t call it a project, then this is your winner. This stunning DIY Jewelry Tree is just about as simple as they come but looks as though you spent a small fortune buying it from some chic department store.
All you need is some fallen tree branches, spray paint, and a pretty vase or two, depending on how many necklaces you’ve got.
Easy and Beautiful Organizers Anyone Can Make
Whether you’re looking for a great little gift idea, something to organize your earrings, someplace to keep your bracelets, or a ring organizer, these DIY jewelry box projects should do the trick. Take your time and consider – unless, of course, one screams out your name – and let the ideas roll around.
You might discover that some of these ideas influence even more of your own. Or, they might just do the trick. There’s only one on the list that requires any specific big tools, so really, any you like, you’re going to be able to do. Just remember to gather all the supplies before you start to avoid any hang-ups.
